

How to enable TLS encryption in .NET Framework 4
In this tutorial, you will learn how to enable TLS encryption in .NET Framework 4 to make older software work properly with modern servers—for example to make legacy Visual Studio versions connecting successfully to Microsoft servers again, to get updates or NuGet packages.
Table of contents
Video tutorial
![]() Click here to read the tutorial as text
Click here to read the tutorial as text

Problem
If you use an older version of Visual Studio, like 2012 and 2013, or any other software based on .NET Framework 4, it won’t work properly with online connections to servers requiring TLS encryption, as it is disabled by default. If you want to get updates and packages for your projects in Visual Studio, you will need to apply this fix too, as Microsoft servers require a TLS 1.2-encrypted connection to their servers since 2020.
Fortunately, it can be easily fixed!
Example

How to fix
![]() This fix involves changing the Windows Registry, which can cause Windows to stop working properly when doing anything else than described here. If you are unsure about applying this fix, contact your system administrator, or download the
This fix involves changing the Windows Registry, which can cause Windows to stop working properly when doing anything else than described here. If you are unsure about applying this fix, contact your system administrator, or download the .REG file here to apply this fix without changing the registry yourself.
- Open Registry Editor
- First, you have to open Windows Registry Editor. To do that, there are multiple ways: either by searching for
Registry Editorin the Start Menu, or simply by typingregedit.exein the Run dialogue, which can be accessed by pressing the+ Rkeys. Click on
OKafterwards.
- If the UAC Prompt appears, click on
Yes. If needed, type in your/the administrator’s password.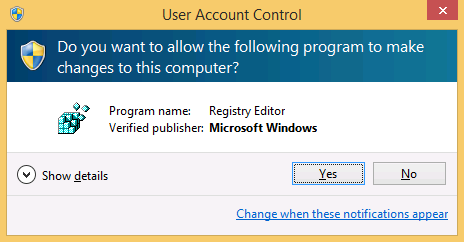
- First, you have to open Windows Registry Editor. To do that, there are multiple ways: either by searching for
- Create DWORD values
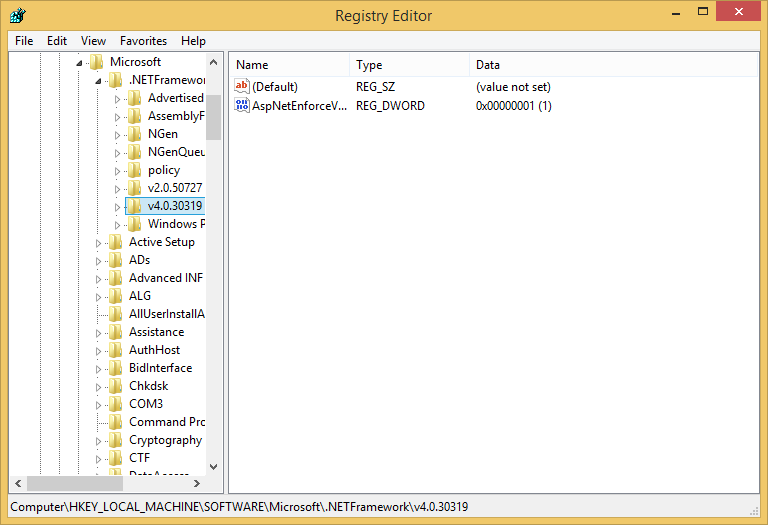
- In the Registry Editor, navigate to following key:
HKEY_LOCAL_MACHINE\SOFTWARE\Microsoft\.NETFramework\v4.0.30319 - It will look like this:
- Now, add two DWORD values called
SchUseStrongCryptoandSystemDefaultTlsVersions– if they already exist, skip next two steps – by right-clicking on an empty space on the right panel, then go toNewand click onDWORD (32-bit) Value, to type in the names afterwards.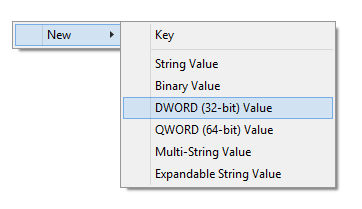
- Those two keys should look like this:

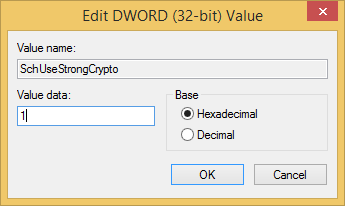
- Now, you need to change both values. Do that by double-clicking on each those values, and change them from
0to1in the textbox underValue data:
- In the Registry Editor, navigate to following key:
- For 64-bit users: Do the same in Wow6432Node
- If you have a 64-bit operating system, which applies to most users nowadays, you have to repeat Step 2, but do it at following registry hive:
HKEY_LOCAL_MACHINE\SOFTWARE\Wow6432Node\Microsoft\.NETFramework\v4.0.30319
- If you have a 64-bit operating system, which applies to most users nowadays, you have to repeat Step 2, but do it at following registry hive:
- Restart your computer
- It is recommended to restart your computer now. Even though it did work without restart in my virtual machine, a restart makes it surely work if the entries have been applied correctly.
- Et voilà !
- It should be done now.
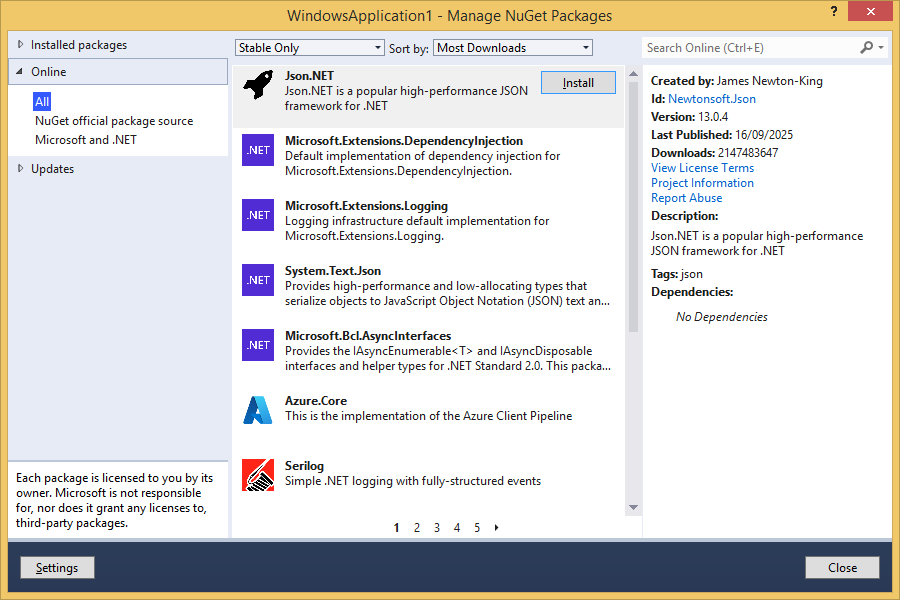
- If you have Visual Studio, open it now and check if NuGet Package Manager can retrieve the information from Microsofts servers—you may also check other software.
Download fix
If you want to apply this fix quickly, or just do not want to change anything in the Registry yourself, download the correct file for your platform. After downloading it, open the file, click on Yes if the UAC appears, and confirm to apply the changes by clicking on Yes.
![]()